
I’ve advocated for off grid living to countless people… and the #1 question I get…
What about the 💩?!
If a composting toilet was or is an anomaly to you, there’s no judgement, it was to me too at first!
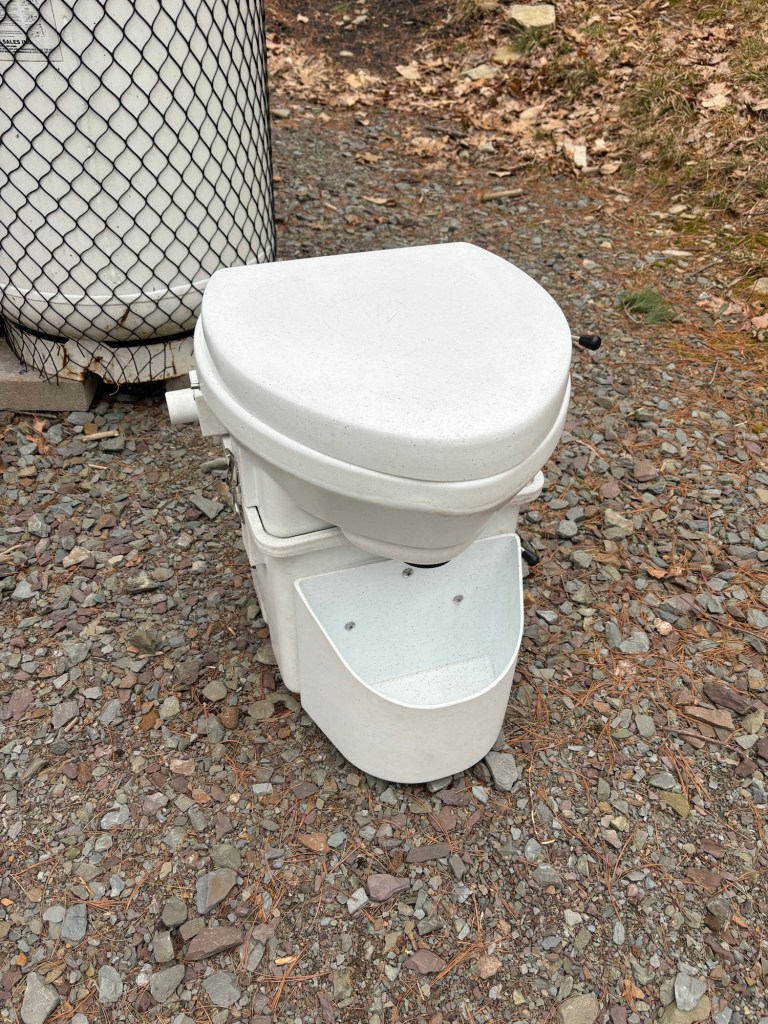
So here’s the basic Tiny House Girl breakdown of how the composting toilet works…

But seriously, that bucket in front of the toilet is the liquid bucket. No you can’t pee and poop at the same time (this may be a deal breaker for some people but, trust me you can learn to change your ways!).
My urine bucket gets dumped weekly and if you want to know where the pee goes you’ll have to message me as I can’t disclose that information in a public forum 😉.
Now what about the 💩?!
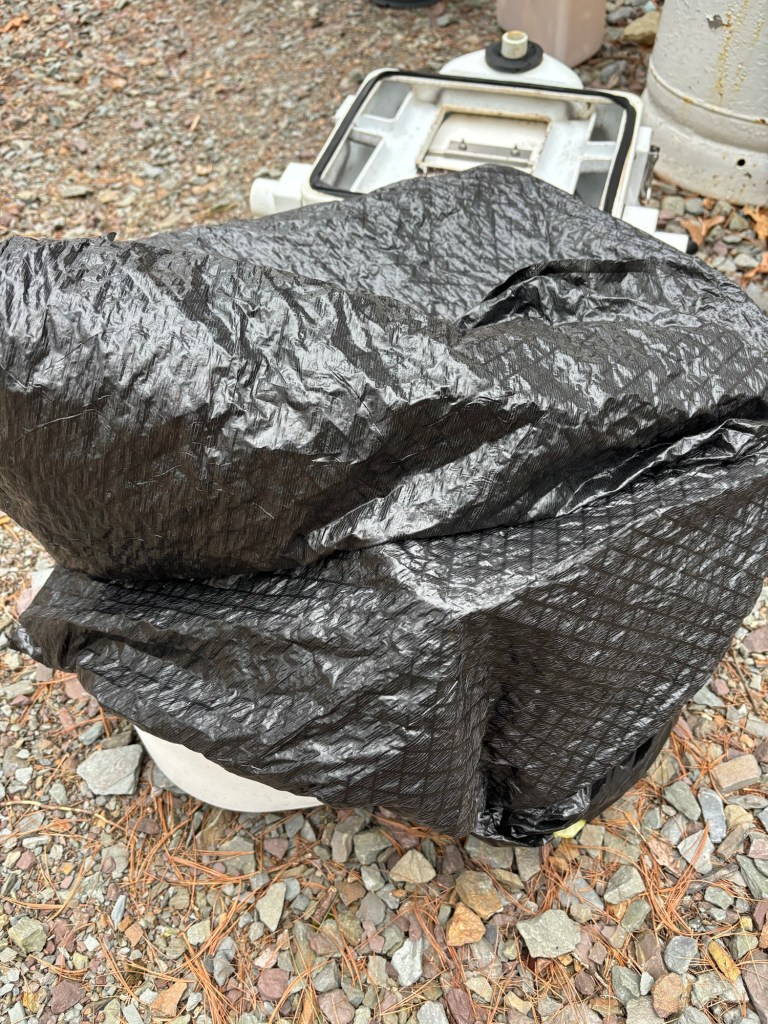
My toilet literally screws to the floor. It’s super simple to unscrew! I take mine outside for obvious reasons (ain’t nobody want humanure on the kitchen floor!)
The head literally just skids off of the base (the head can be seen behind the toilet)
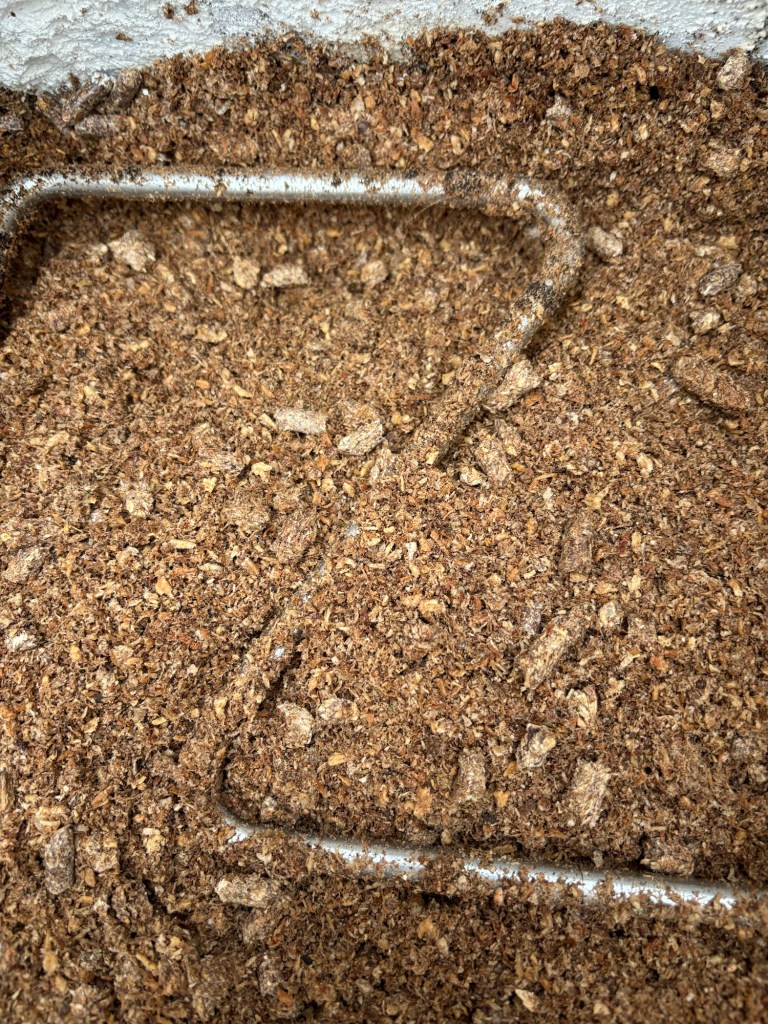
Then place a trash bag over the base (the base is where the solids are stored) and dump!

This is what your solids looks like (pictured above) almost all compost!
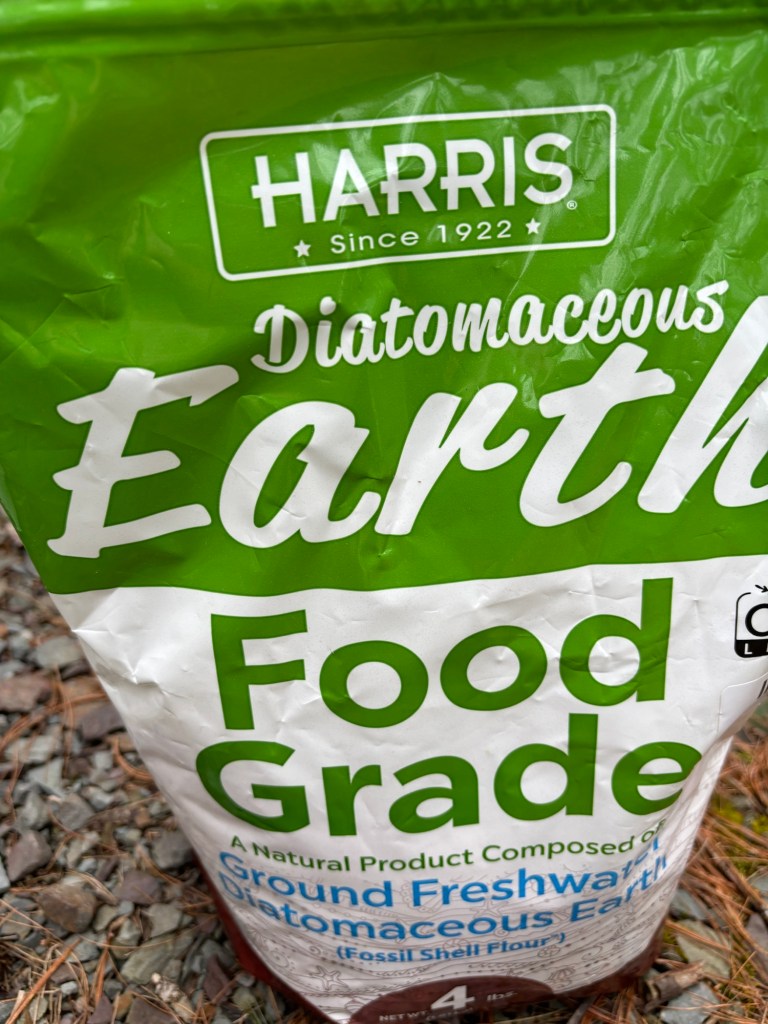
After emptying the solids in the trash bag, I coat my solids bucket with diatomaceous earth (think coating a brownie pan with flour before pouring in the batter). This helps a few ways:
a. Bugs don’t like it
b. It prevents sticking (you know what I mean!)
c. It also helps with odor control
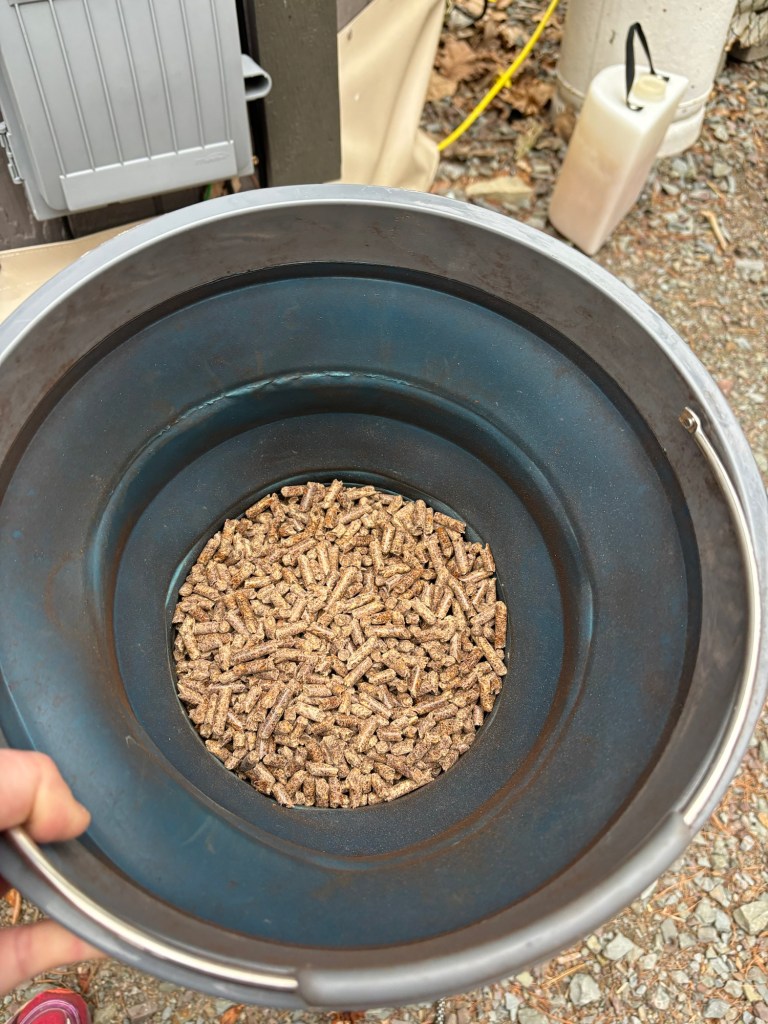
Depending on the season depends on the compost material I use. This picture was taken in the spring and therefore I use pine pellets. Pine pellets help absorb moisture and odor so it’s a great agent. However I notice I have to change my solids more frequently with pine pellets. In the summer I use more coco core as I notice less odor with the coco core but also mix in some pine pellets to deter gnats. Coco core definitely lasts longer making it less of a chore, however it’s also more expensive.
Both the pine pellets and the coco core need to be hydrated.
The above pic is a few handful of pine pellets. The pic below is what they look like after hydration!
Fill the solids bucket back up with your hydrated material and re-install!
It truly is that easy!
The entire process from start to finish takes me about 20 minutes and typically I only need to empty about every 2-3 months!
Now where do I put the compost?!

In the compost pile!!!
Before you start sending me hate mail…
1.) I don’t use this compost in the garden where I plant veggies or anything else for human consumption
I throw my kitchen compost, my yard compost and my solids compost all together and it truly makes my plants so happy!
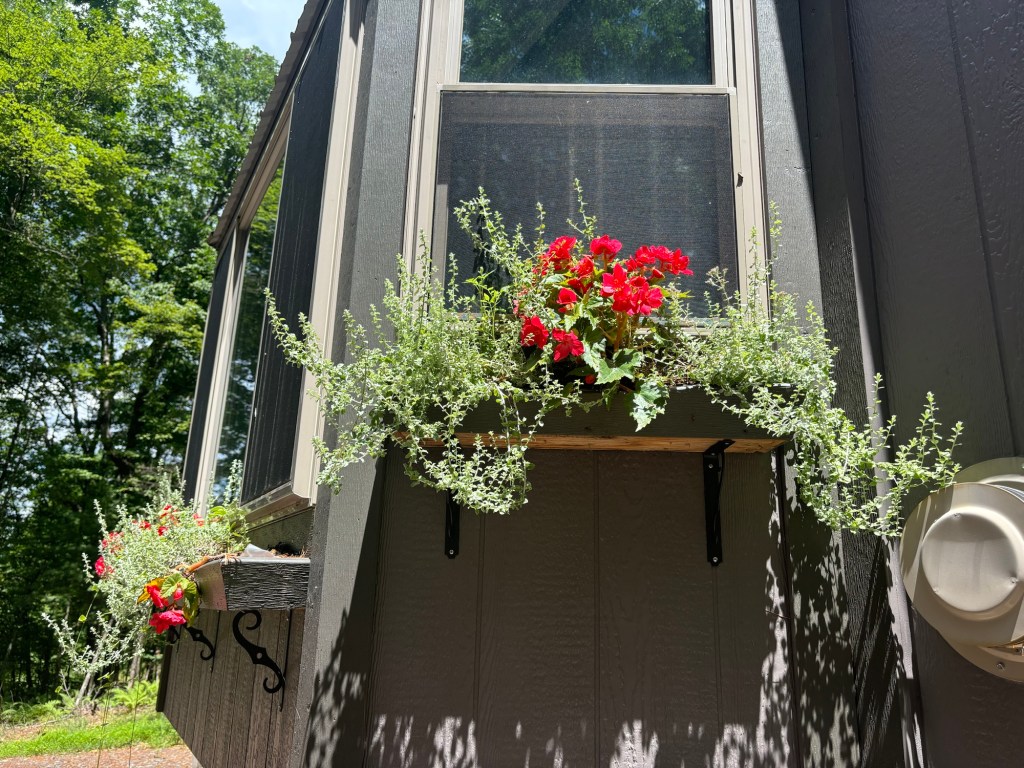
And here’s the evidence 🙂 it takes about a year for the compost to all conjoin and break down…these flower boxes are planted with the compost from last year!
And there you have it!
Side note: did you know that the most water consumption in your house comes from flushing your toilet?
On average I save about 100 gallons of water a week by utilizing a composting toilet.
Is it for everyone?
No.
Is it hard?
No.
Tiny House living is an adventure and the composting toilet is part of it!

Leave a comment